How to Create a New Workbook in DBEdit
DBEdit uses a single shared connection string, created with a workbook, for all worksheets. You can later change the data provider and database credentials, but you cannot switch the server platform (e.g., from SQL Server to Oracle Database).
To create a new workbook, click File, then New, or press Ctrl-N.
Step 1. Select Provider
First, select a provider.
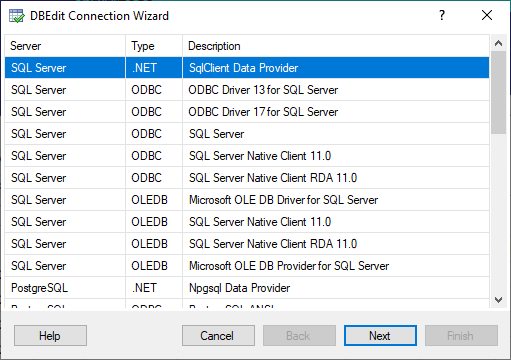
DBEdit displays all installed and supported providers. You may see fewer providers than listed.
Step 2. Connect to Database
Next, specify your database credentials.
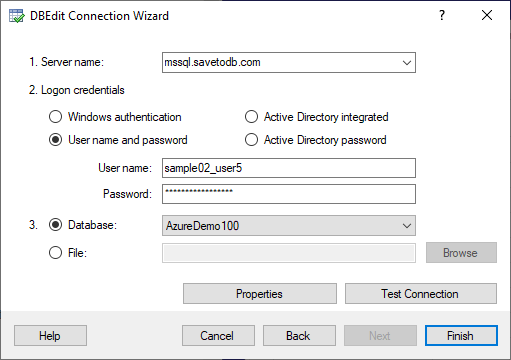
Different database servers have unique features. Click the Help button or the Examples link for context-sensitive help.
DBEdit checks the connection in the background and enables the Next button if successful. If the Next button is disabled, click the Test Connection button to verify the connection and update the status.
Step 3. Select Database Object
Now, select an object to retrieve data from.
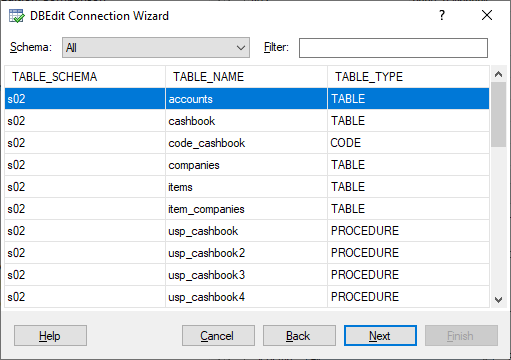
DBEdit supports tables, views, stored procedures, functions, and configured SQL code objects. You can filter objects by schemas:
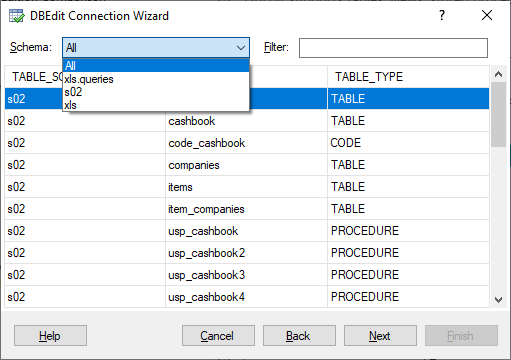
Database developers can extend this drop-down list by creating query lists to select objects based on business areas. You can also filter objects by names:
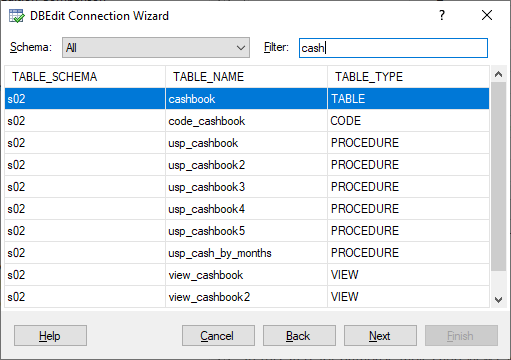
Step 4. Configure Fields and Parameters
In this step, for database tables and views, choose the fields to select (in the leftmost column):
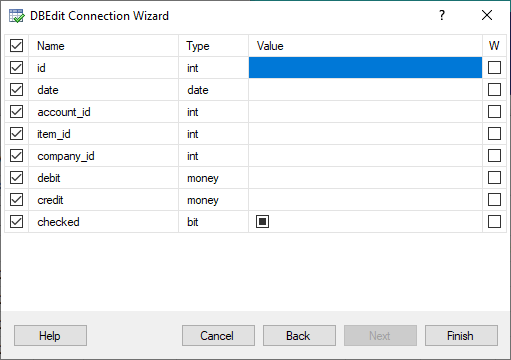
You can also select fields to use as WHERE filters (in the rightmost column):
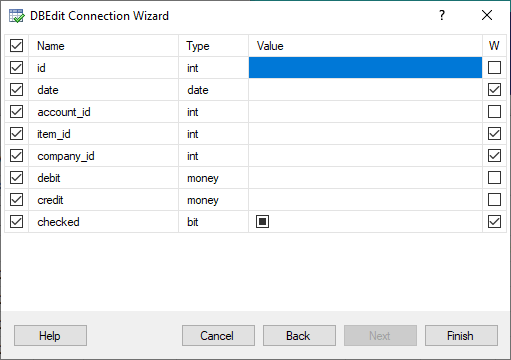
For stored procedures, functions, and SQL-based objects, the wizard allows you to customize parameters only.
Step 5. New Workbook
After clicking Finish in the previous step, DBEdit creates a new workbook with a connected worksheet:
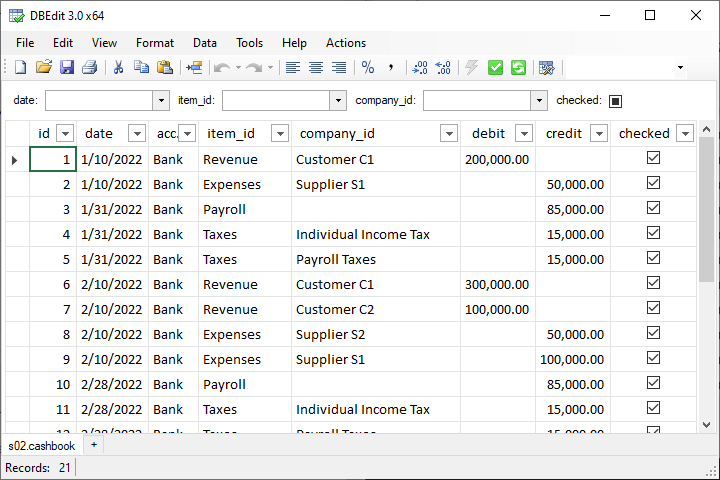
You can add additional worksheets by clicking the plus button in the tab list, pressing Shift-F11, or using the Data > Insert Worksheet menu option.